

Install Wall Heater With a Built-in Thermostat
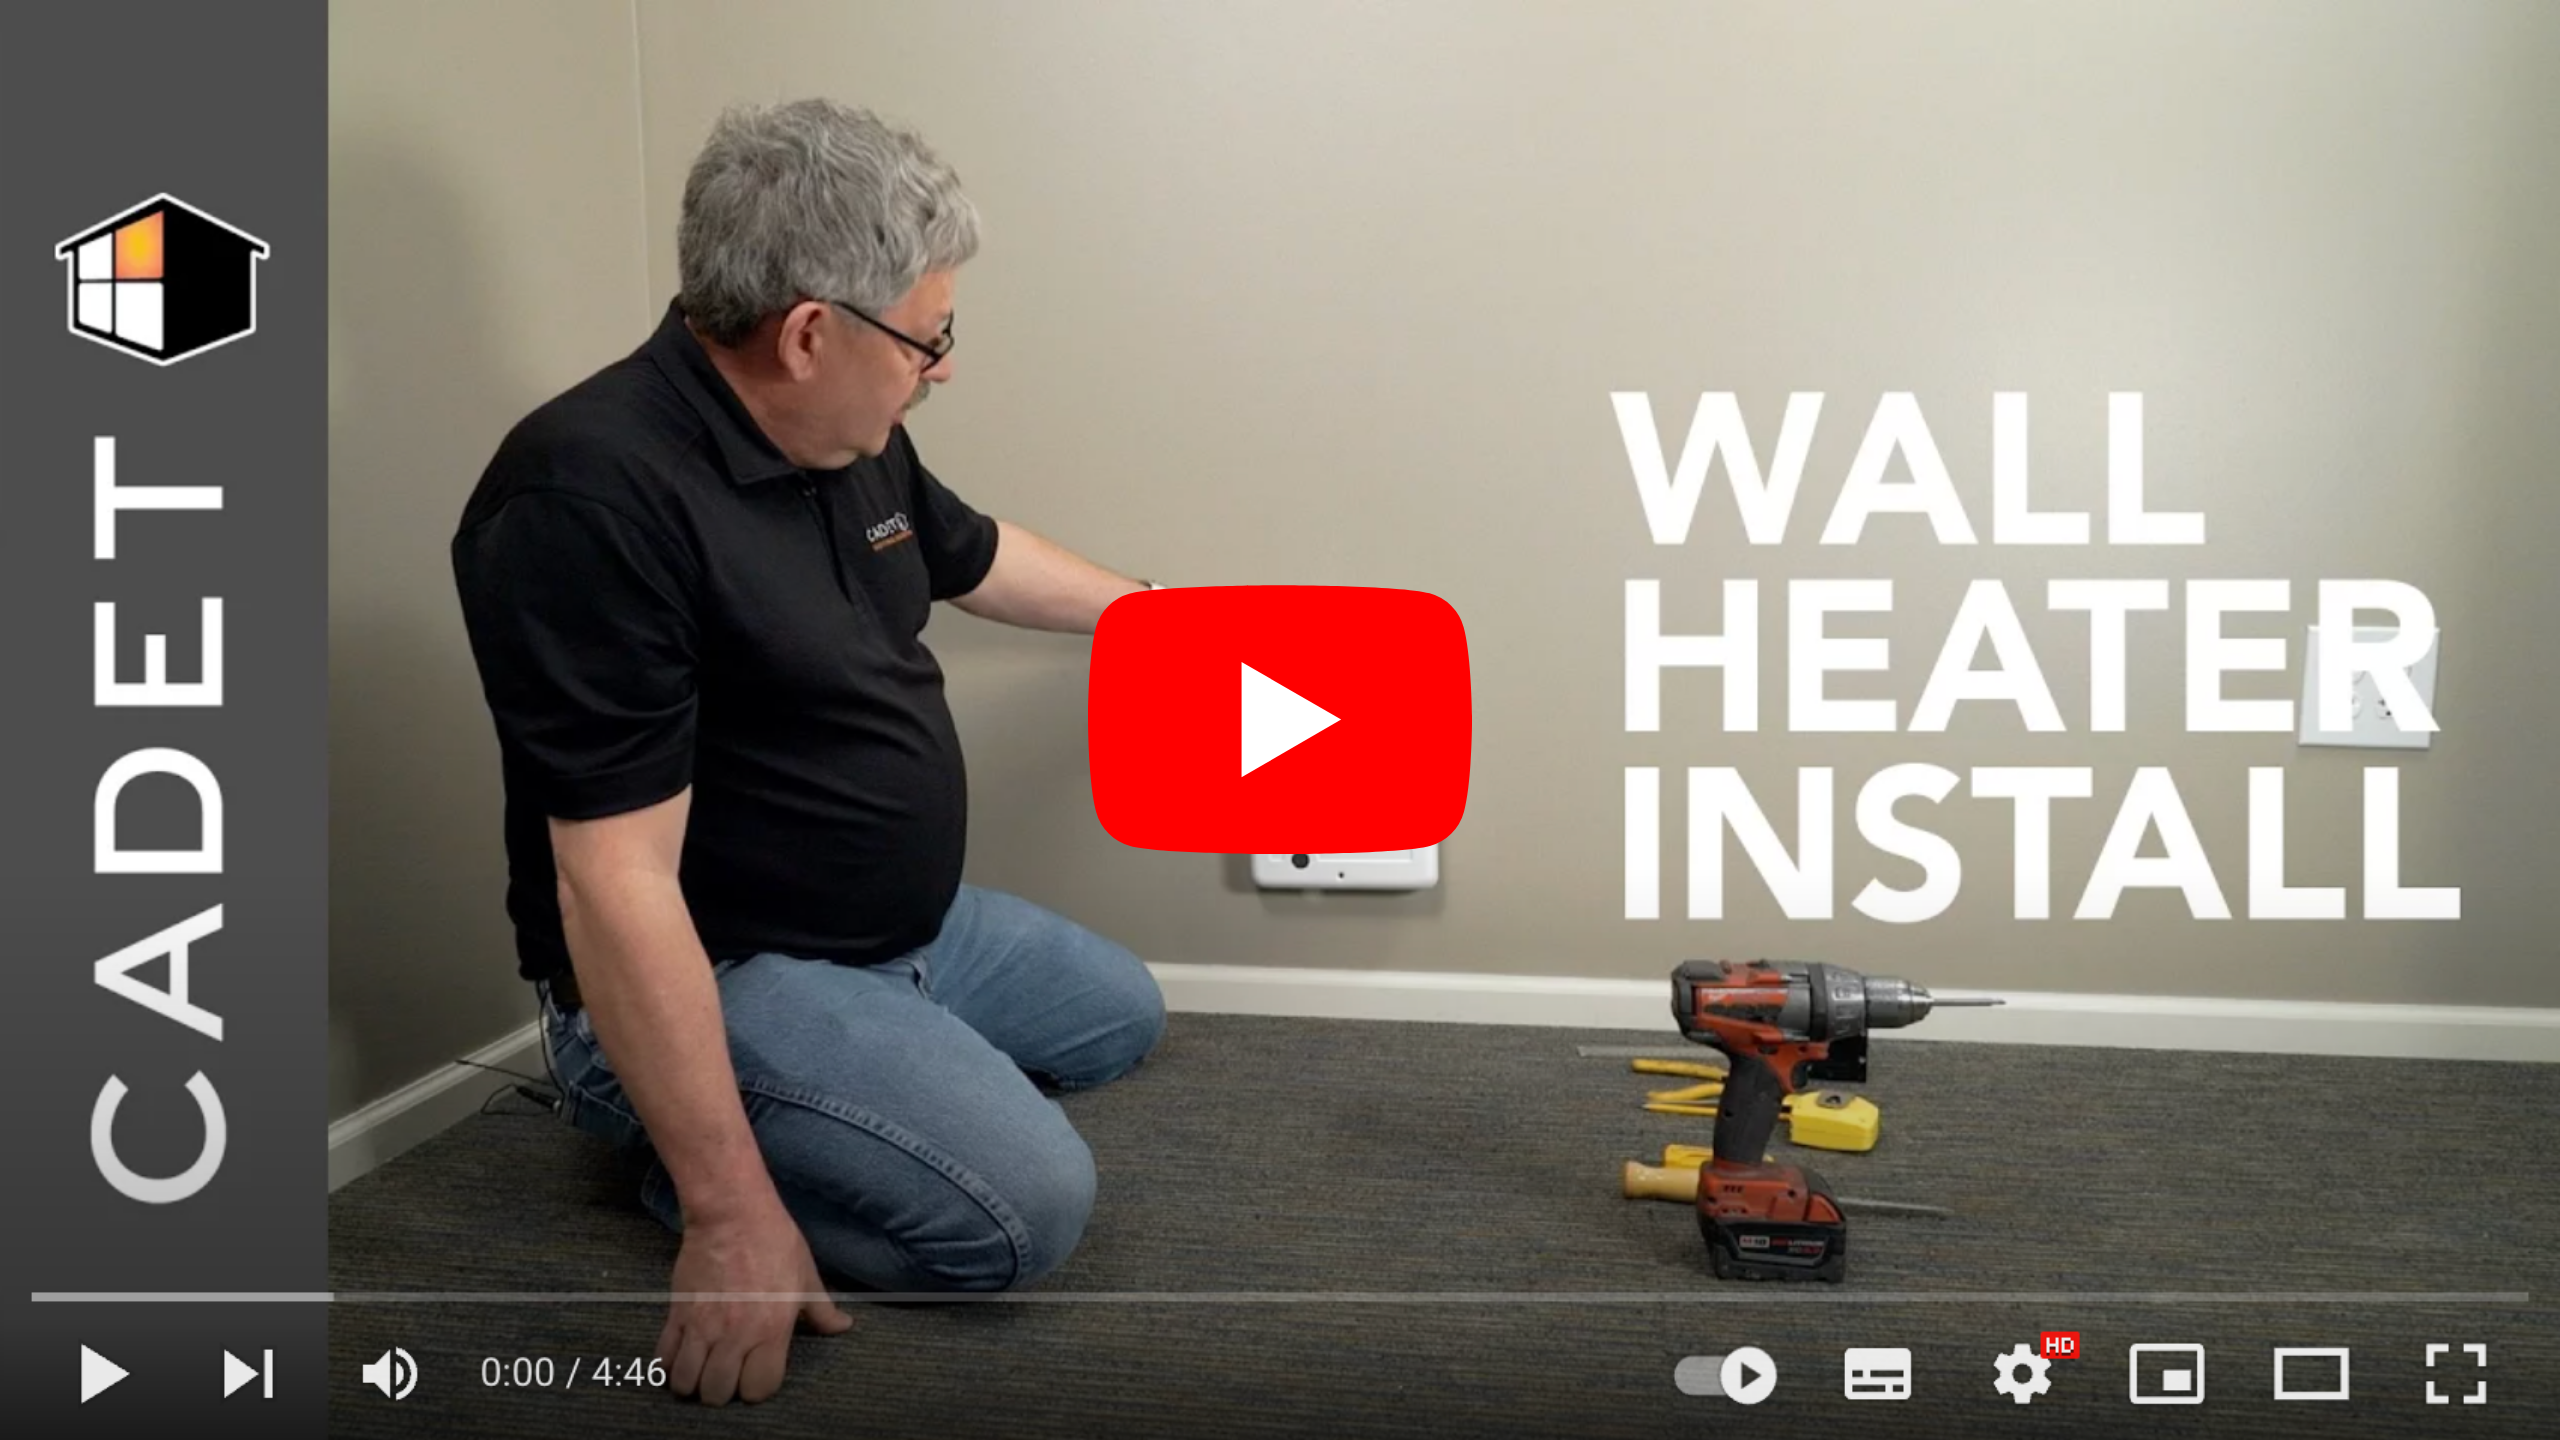
Whether you have a few questions during an installation or are doing pre-purchase research, this video will show you the basics of how to install a wall heater with a built-in thermostat.
This video features our Com-Pak heater, but the process will be almost identical for any wall heater with a built-in thermostat.
Step 1
Be sure to check your Owner's Guide for your specific heater's cutout size and clearance requirements.
Step 2
Cut a hole in the wall, next to a stud.
Note: The Com-Pak heater needs to be installed a minimum of 4.5 inches from the floor, and it needs to have 3/4 inch clearance on either side of the grill.
Step 3
Find a stud and mark it with a pencil.
Tip: Cut a small hole to make sure your line is right against the stud.
Step 4
Trace an outline for the heater that’s 10 and 1/8 inch tall by 8 inches wide and cut along the outline with a drywall saw.
Step 5
Once your cutout is made, the next step is to get ready to run the circuit.
Step 6
Set up a new line inner panel and make sure your heater matches the voltage of your circuit.
Step 7
From the breaker panel, route the wire to your wall can and don't forget to turn off your breaker before you do anything else.
Note: If you feel uncomfortable doing this work, or doing the installation of the wiring, have an electrician help you.
Step 8
Next, install the wall canister:
-
Attach the foam pad to the side of the wall canister that will rest against the stud
-
Remove a knockout from the wall canister
-
Install a cable clamp on supply wires
Tip: leave at least 6 inches of wire to make heater connections
4. Attach the cable clamp connector to the wall canister
5. Attach the wall canister to the stud
Step 9
Next, wire the connections, make sure your cable clamp is in and tight.
Tip: Leave about a half inch of insulation.
Step 10
Cut this back to get the wires ready and indicate which wire is hot.
Note: 240 Volt instals only - cover white wire with black electrical tape. If you're doing a 120 volt heater, you would leave that alone indicating it is a neutral wire.
Step 11
Attach the ground wire to the grounding screw.
Step 12
Connect the supply wires to the heater with wire connectors.
Note: 120 volt only - connect the white heater wire to the neutral supply wire.
Step 13
The last step is to install the grill:
-
Attach the grill
-
Attach thermostat knob
-
Turn the breaker back on

Make sure to check out the Com-Pak Complete Wall Heater as it's one of the most popular heaters on the market. This heater provides quiet, efficient air flow and safety features that will keep your family safe and warm for years to come.
Video Transcription
0:00 Steve with Cadet Tech support here.
0:02 We're here to show you how to install a wall heater with a built-in thermostat.
0:06 Today, we're going to install a Com-Pak heater.
0:10 The process is pretty much the same as our other wall heaters.
0:13 Be sure to look at your specific owners guide for the model you're installing to find out
0:18 The cutout size and the clearance requirements.
0:21 To install a wall heater you're going to need to: Cut a hole in the wall, next to a stud.
0:25 Locate or route electrical supply wires.
0:28 Install the wall can.
0:30 Wire connections.
0:31 And install the grill.
0:32 The Com-Pak heater needs to be installed a minimum of 4.5 inches from the floor, and
0:37 It needs to have 3/4 inch clearance on either side of the grill.
0:41 However, for ease of use, we're going to go ahead and install the heater about here.
0:45 Ok, we're finding a stud here now.
0:47 We're going to go ahead and mark that with our pencil here.
0:52 We're able to cut our hole so that our can is next to the stud on either the left or
0:56 The right.
Tip: cut a small hole to make sure your line is right against the stud
Trace an outline for the heater that’s 10 and 1/8 inch tall by 8 inches wide
Cut along the outline with a drywall saw
1:09 Ok, so we got our cutout made, now we're ready to run the circuit.
1:25 We're going to have to set up a new line inner panel.
Make sure your heater matches the voltage of your circuit
1:29 From the breaker panel route the wire to your wall can.
1:32 If you feel uncomfortable doing this work, or doing the installation of the wiring, have
1:37 An electrician help you.
1:39 Don't forget to turn off your breaker before you do anything else.
1:42 Ok, now we're going to install the wall can.
Attach the foam pad to the side of the wall can that will rest against the stud
Remove a knockout from the wall can
Install a cable clamp on supply wires
Tip: leave at least 6 inches of wire to make heater connections
Attach the cable clamp connector to the wall can
Attach the wall can to the stud
2:30 Next, we're going to wire the connections.
2:32 Ok, we got our cable clamp in and tight.
2:35 What we want to do is leave about a half inch of insulation still there, so I'm going
2:38 To go ahead and cut this back so we can get back to our wires.
2:45 Ok, we got our wires here all ready.
2:47 We're actually going to be doing a 240 volt heater today, so we have a white wire here
2:52 We want to indicate as hot, so we're going to wrap that with black tape.
240 Volt installs only: cover white wire with black electrical tape
2:56 If you're doing a 120 volt heater of course you would leave that alone indicating it is
3:23 A neutral wire.
Attach the ground wire to the grounding screw
Connect the supply wires to the heater with wire connectors
120 volt only: connect the white heater wire to the neutral supply wire
4:08 The last thing we need to do is install the grill.
Attach the grill
Attach thermostat knob
Turn the breaker back on
4:30 Ok, we're all set here.
4:32 We have the heater all installed.
4:33 Hey and again if you have any questions, please leave us a comment!
4:41 If you would like to learn more about Cadet, please visit some of our other videos.