

How to Upgrade From a Baseboard to Wall Heater
Looking to upgrade an old baseboard heater? There's a lot of reasons why you might want to consider upgrading to a wall heater, but how do you make the transition from a baseboard to a wall heater.

Baseboard heaters are a fantastic, economical way to add heat to a room in your home. Wall heaters cost a little more up front, however, you enjoy the benefits of more efficient and quicker heating and more options for where to place your furniture.
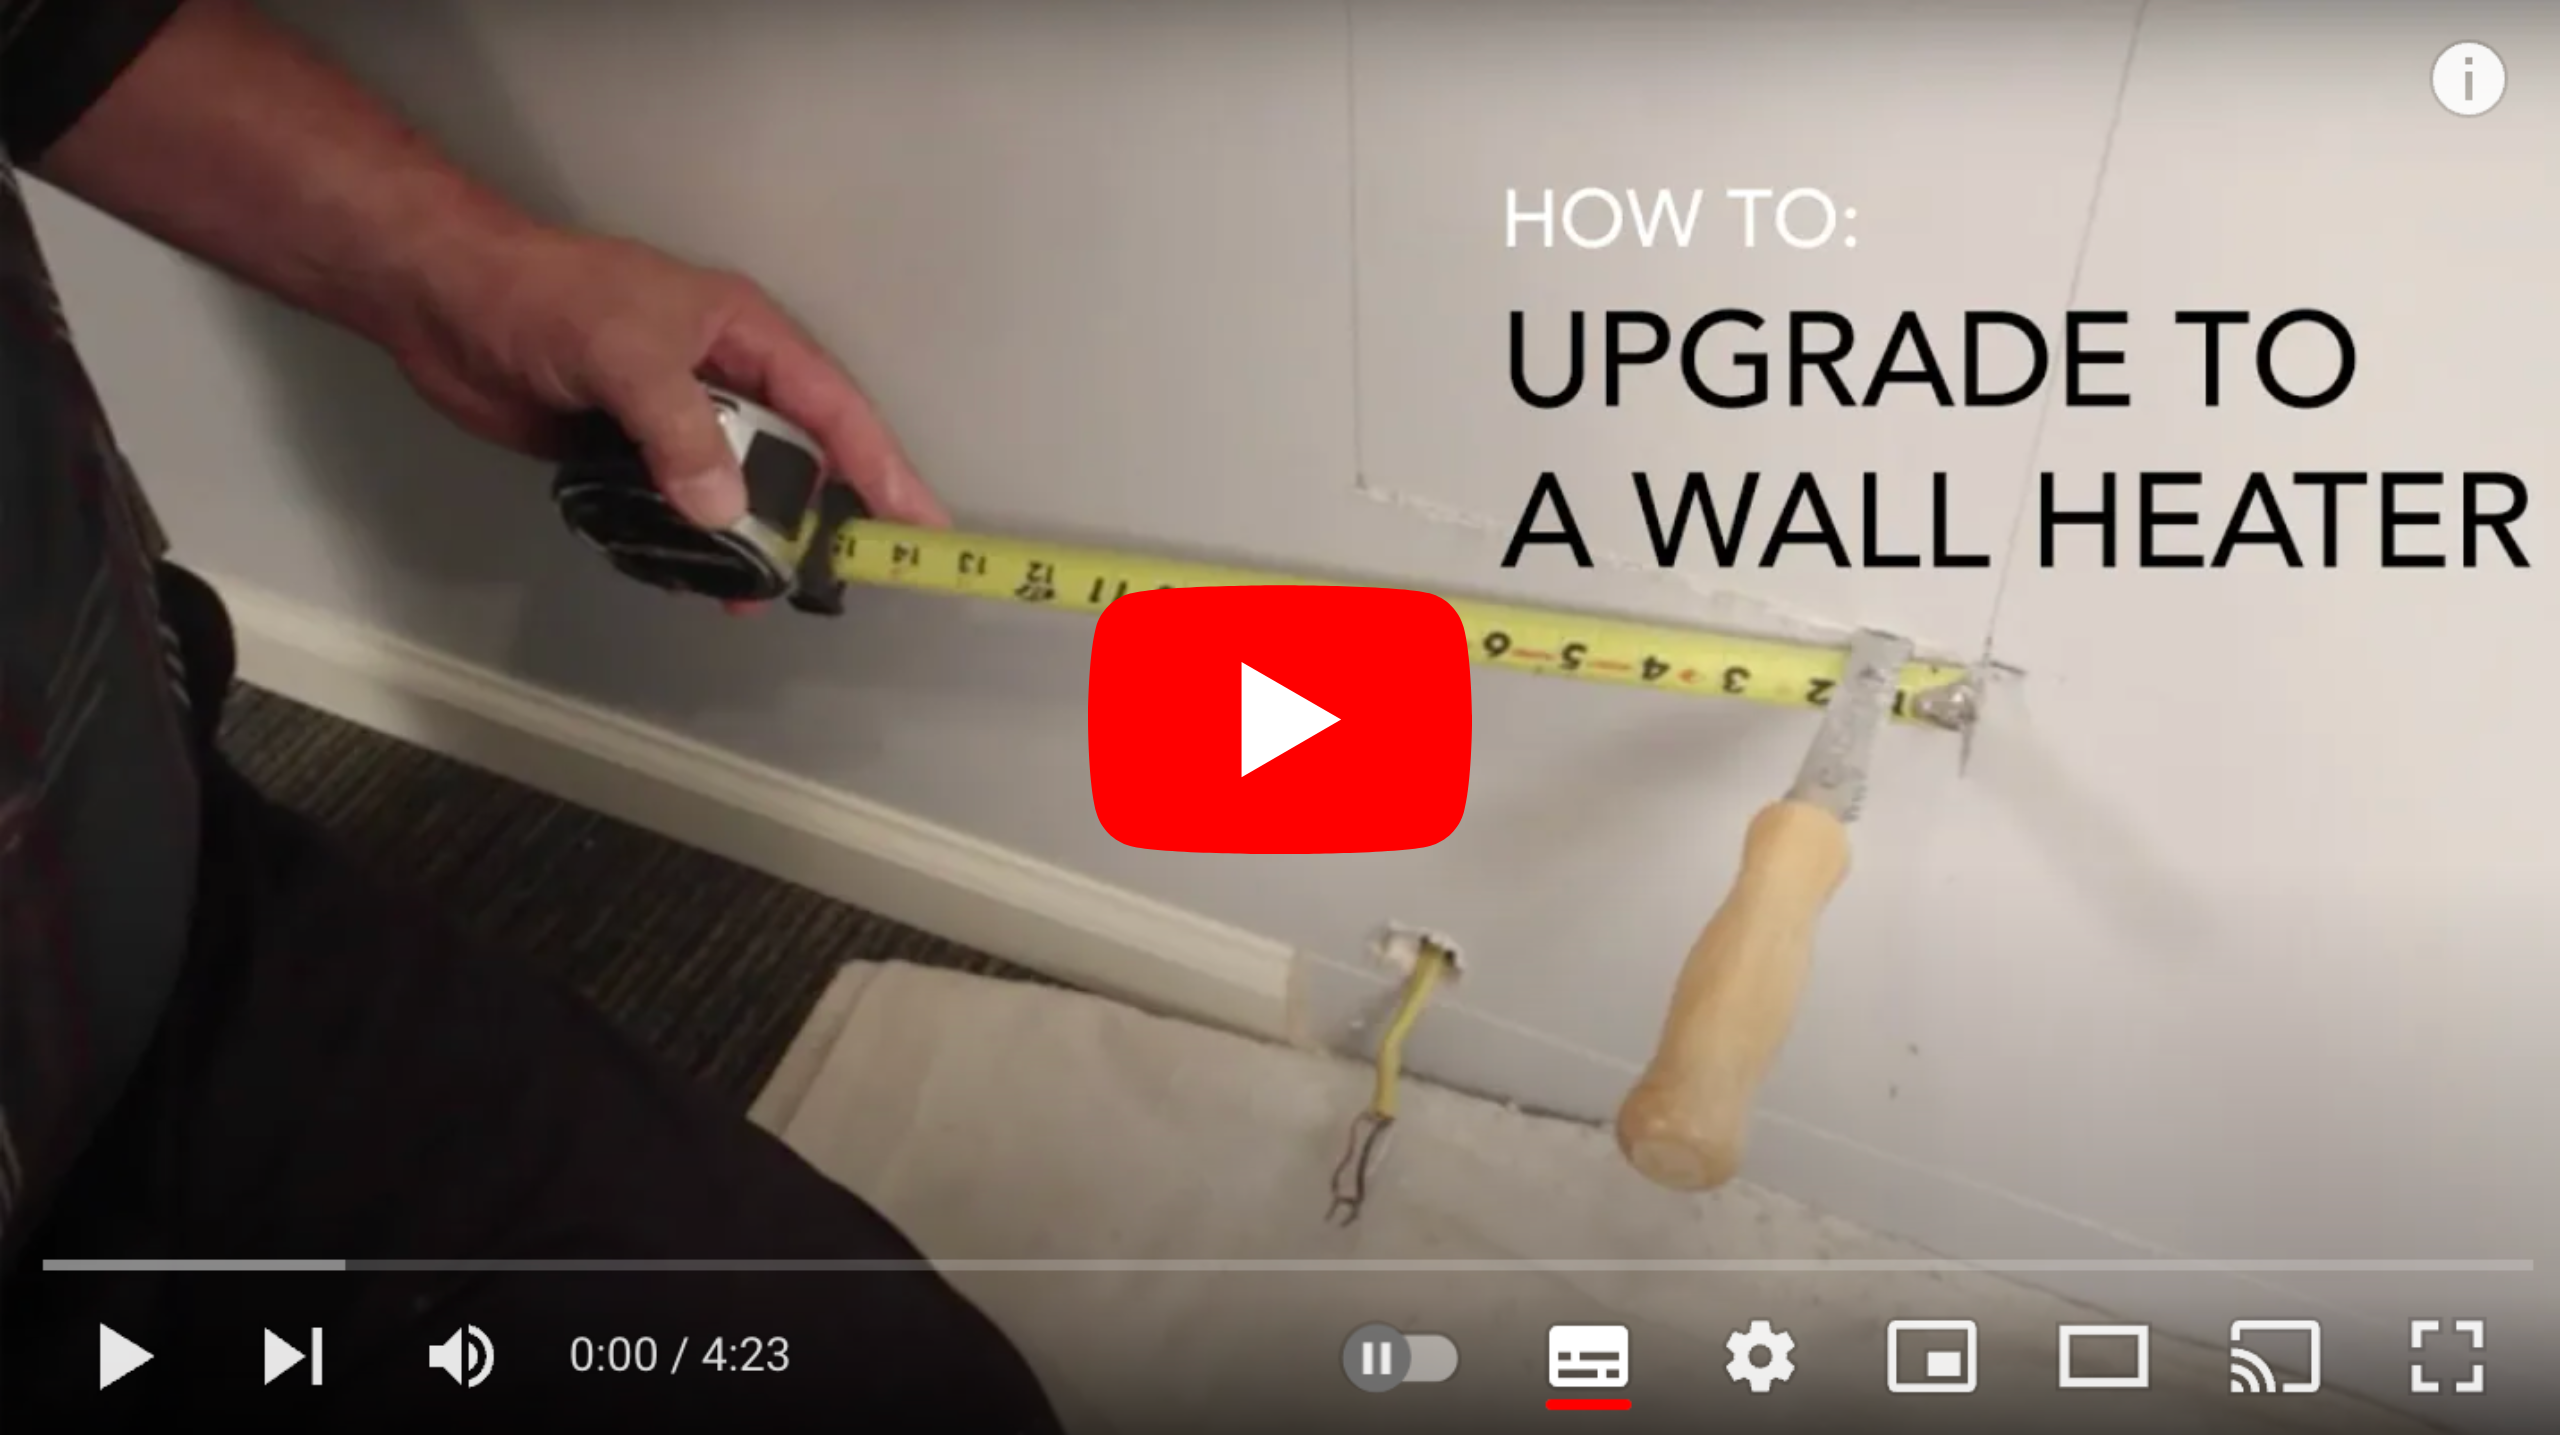
Want to know how to make the change? The video above will show you how to upgrade from a baseboard to a wall heater.
Finding the right replacement heater
When it comes to finding the right replacement, be sure your new wall heater is the same wattage and voltage as the baseboard it's replacing. The easiest way to find this information is on the identification label for the heater. If the label is missing, a standard baseboard will be about 200-250 watts per foot of length. Check your breaker to find the voltage. If your heater is hooked up to a double breaker, it's 240 volts. If it's hooked up to a single breaker, it's 120.
For additional help, be sure to check out our other blog posts on how to find the right wattage heater for your room and how to choose the right voltage heater.
Video Transcription
0:00 Dave: Hi, I'm Dave with Cadet Heat.
0:01 Thomas: Hi, I'm Thomas with Cadet Technical Support.
0:03 Dave: Now today we're going to show you how to upgrade from a baseboard heater to a wall
0:07 Heater.
0:12 Thomas: Before you do anything else, you are going to want to turn your breaker off.
0:15 Thomas: First, unscrew the screw that holds the wiring compartments cover on, and
0:20 Remove the wiring compartment cover.
0:23 Disconnect the power wires that go to the heater.
0:24 In our case, our heater wires are attached with wire nuts.
0:28 Unscrew the green ground screw, and remove the bare copper ground wire.
0:33 Unscrew and remove the mounting screws that hold the baseboard to the wall.
0:37 If your heater had a strain relief connector go ahead and disconnect it now.
0:42 Once you have removed the strain relief connector, carefully feed the wire back through the hole.
0:48 And now your baseboard is uninstalled.
0:50 Dave: Alright, once Thomas has the baseboard off, I'm going to start prepping to put on
0:55 The wall heater.
0:57 Since studs run vertically, I'll locate the hole on either the left or the right hand side
1:01 Of that particular stud bay and start from there.
1:05 Now since we're installing the heater, right above where the old baseboard used to be,
1:09 We know that the supply line is there.
1:11 Using a drywall saw I carefully score the drywall and cutout the hole.
1:16 Careful!
1:17 These saws are sharp.
1:20 Check your measurements and you may find (like I did) that it was a little bit off.
1:24 No worries.
1:25 Steve: Ok, well the good news is the wall can fits, but I'm off a little bit.
1:31 My measurements wasn't perfect, is that going to show?
Tip: make sure your new wall heater is the same wattage as your old baseboard
1:34 Thomas: No, when we finish the installation the grill will cover those.
1:43 And it takes in account that little space underneath the grill, and you won't be able
1:48 To see it.
1:49 Dave: As we mentioned earlier the wires in our home run from the ceiling, what do we
1:53 Do now?
1:54 How do we get the wires to run to the wall heater?
1:56 Thomas: So what we are going to do is take the wires, and pull this through and out.
2:00 And then through the knockout we're going to take out that top knockout and feed the
2:08 Wiring through there and then we will be good to go.
2:10 Dave: Next, strip enough wire to make sure the ground wire can reach the green ground
2:17 Screw.
2:18 Then it's time to reassemble the strain relief.
2:20 Feed the wires through the hole, and re-attach the inner ring to the wire connector and tighten
2:26 It down.
2:27 Now, put the wall can supply wires into the wall cavity.
2:29 It only needs to be secured on one side to be stable.
2:33 Once you got the can in place, insert two drywall screws to a stud.
2:40 First of all, make sure you give yourself plenty of wire to work with.
2:42 And we're going to start with the ground wire, that that bare copper wire and we're going to loop it around here and
2:48 Tighten it down clockwise.
2:50 If you do it this way it will automatically tighten up as you turn the screw.
2:54 Now, we're going to look at the other two wires.
2:56 Really simple, one-to-one.
2:58 Don't worry because one is white, and it's going to a black wire.
3:01 That's just fine.
3:02 We prepped the wires and put the wire nuts on.
3:06 Twist them nice and tight, we don't want them to be loose at all, and then you'll actually
3:10 Want to give them a tug to make sure that they're on there as tight as you can get them.
3:14 Now, it's just a matter of putting the heater in place.
3:18 The heater rests in a flange at the bottom, and there's just one screw at the top, we're going to tighten
3:23 That.
3:24 Now it's time to put the grill on.
3:25 When you put the grill on, I would suggest starting with the lowest screw first.
3:29 It's a little easier this way, you can kind of see what you're doing.
3:32 Tighten up the top and the bottom screw, and now it's time to turn on the circuit breaker.
3:36 Thomas: When you're done, you're going to have a hole in the wall where the supply wires
3:40 Used to feed the old baseboard.
3:42 You have a couple choices here: you can either patch the drywall, or what some folks like
3:46 To do and have the opportunity to do now is upgrade their baseboard trim.
3:49 Dave: So if folks have any questions Thomas what should they do?
3:52 Thomas: They can get ahold of us here at Cadet.
3:54 Get on the phone and we can work through any issues that they may have.
3:58 Also, we can chat with them on our online feature, jump on the computer on our Cadet website.
4:03 It's right there and it says "chat".
4:05 Dave: Alright, well I'm Dave.
4:06 Thomas: And I'm Thomas.
4:07 Dave: Thanks for watching our Cadet Heat video.