How to Install A 4 foot Baseboard Heater
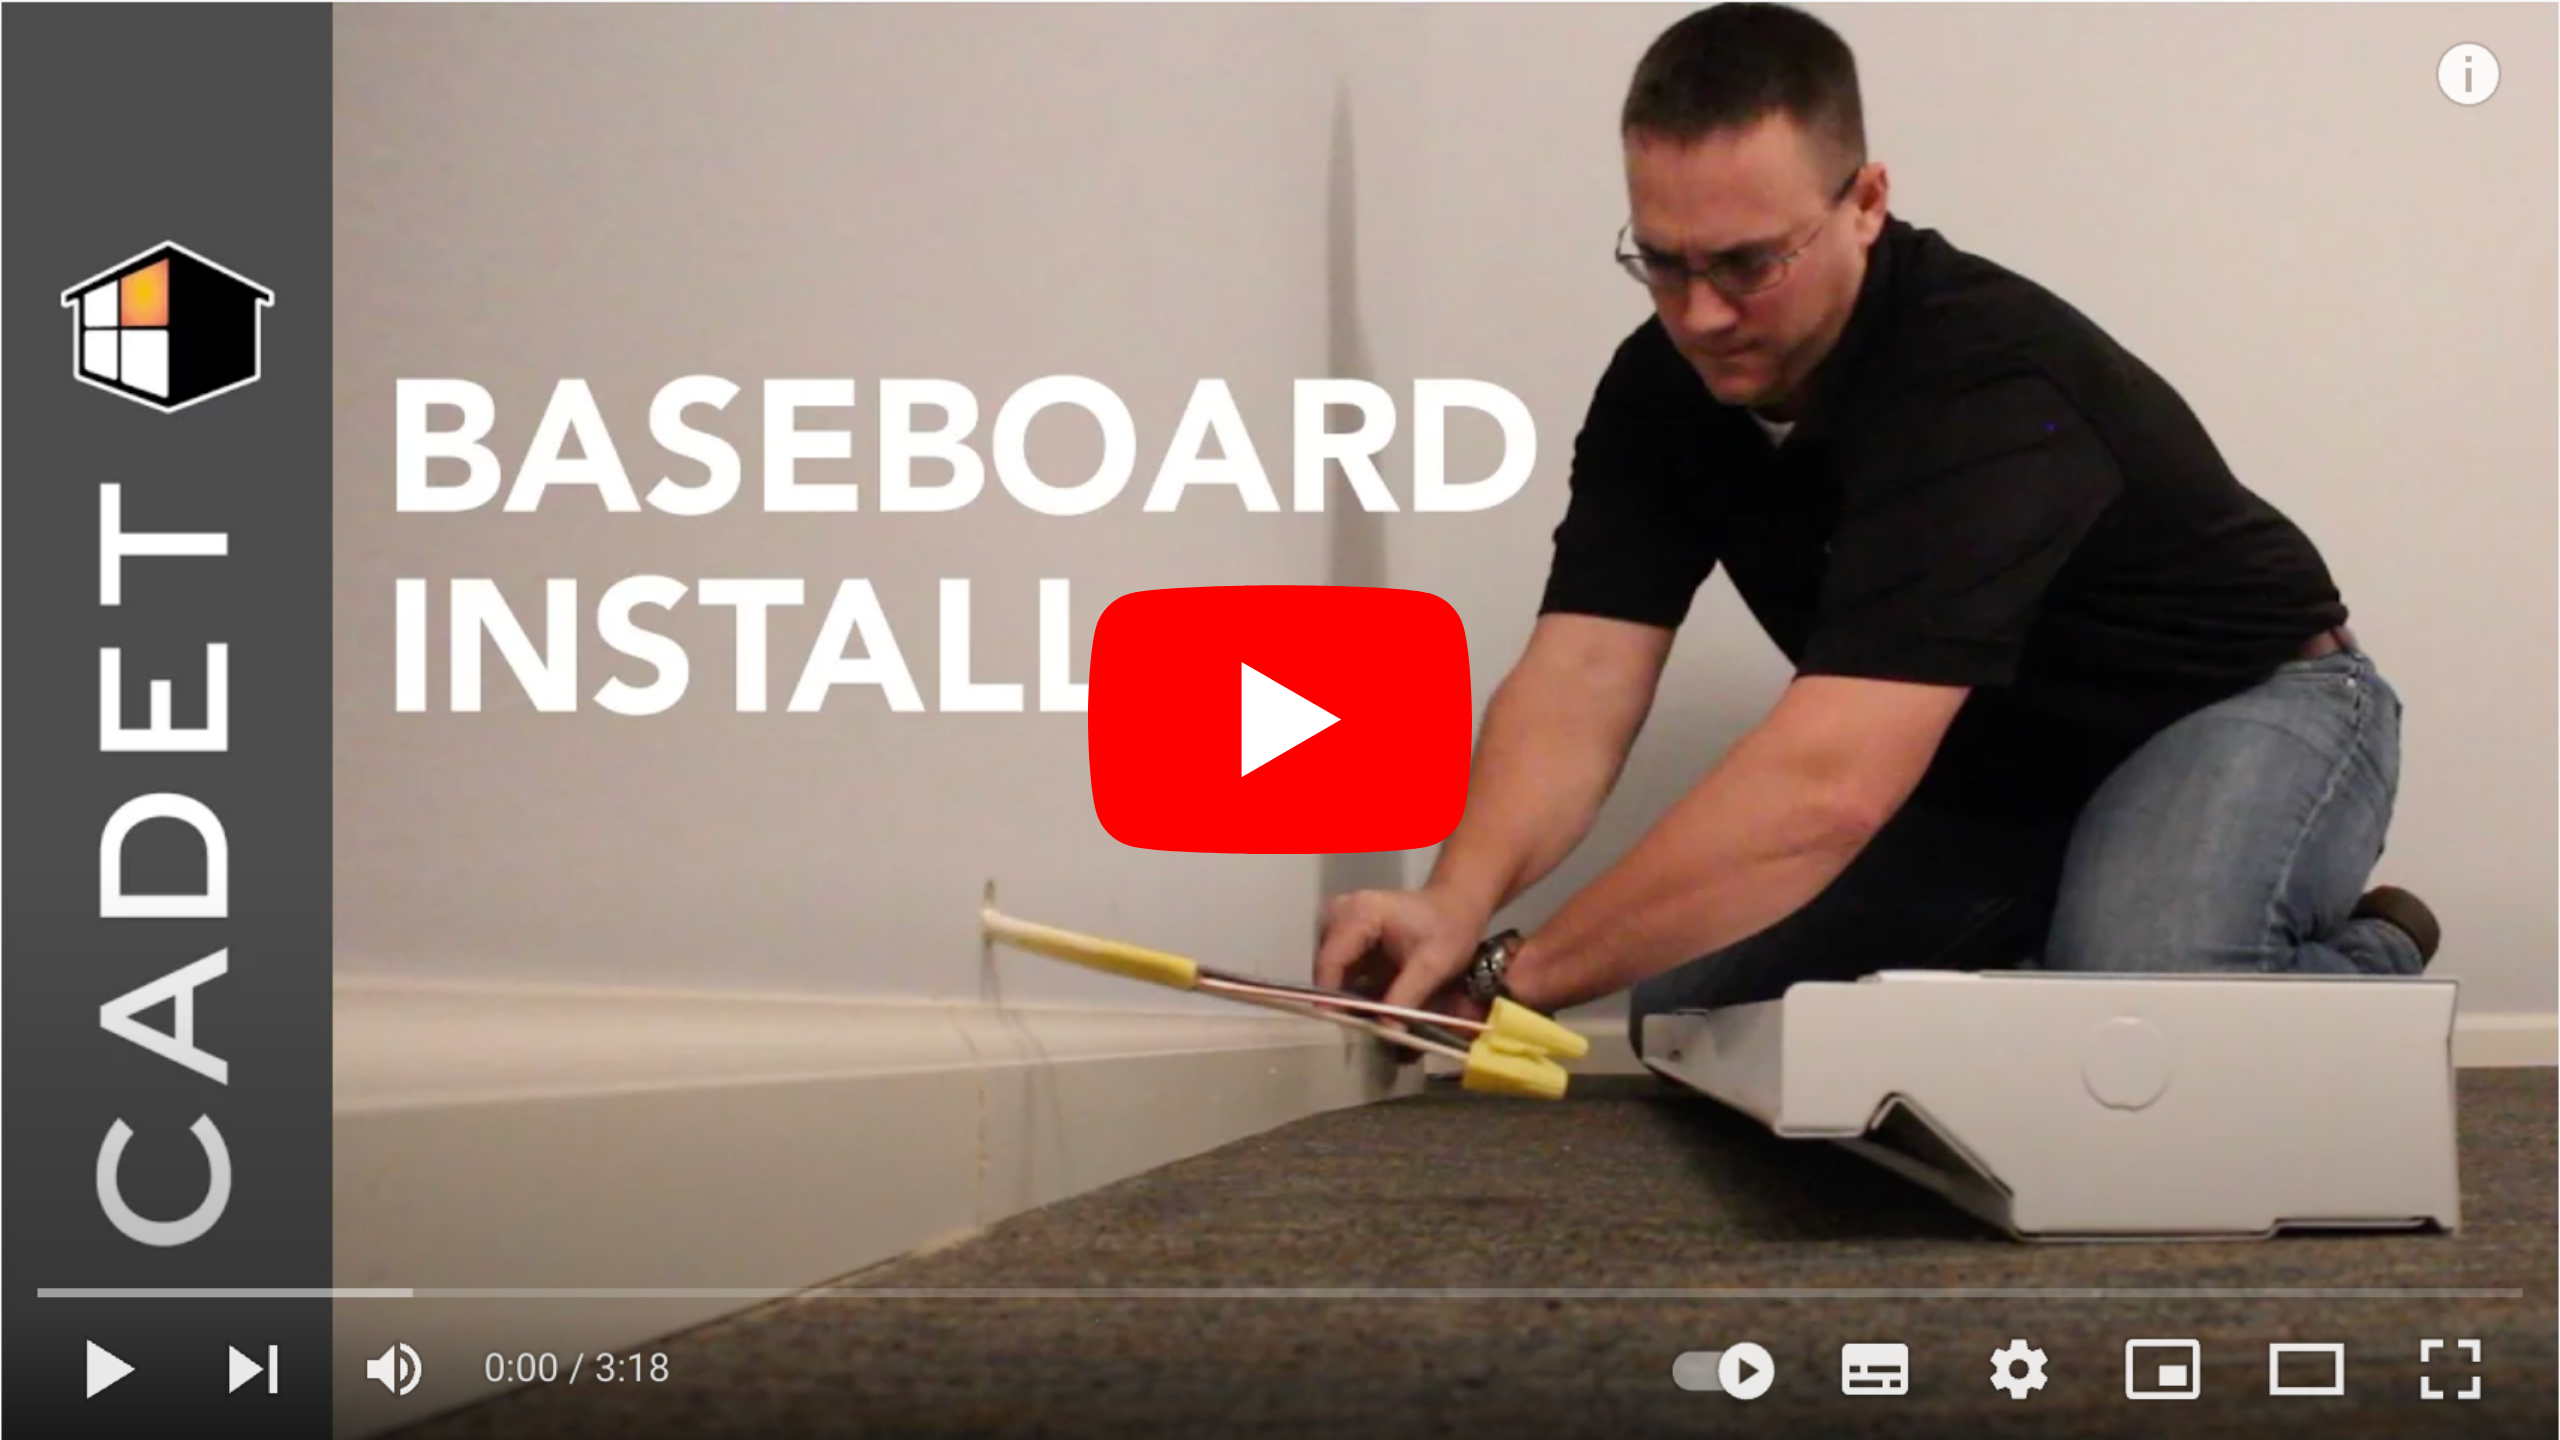
Wondering how to install a Cadet baseboard heater? Our tech support team walks you through the process in the video above. Sit back, grab your Baseboard Owner's Guide, and enjoy the 3-minute show.
Before you install a baseboard, make sure you familiarize yourself with:
- Voltage
- Circuits
- Placement
- Clearance requirements
- Local electric code
All this information can be found in your owner's guide or on our Youtube channel:
What materials are required?
- a tape measure
- a stud finder
- wire strippers
- a drill
- Phillips head screwdriver
- flat head screwdriver
- a meter
- sharp tool to cut the baseboard trim with
- you will also need: need screws, wire nuts, and a strain relief connector
Just remember, you need to use screws -- not nails -- to attach the baseboard heater to the studs in the wall. As well, the baseboard heater must be installed horizontally at or near floor level. It can't be installed vertically or up near the ceiling.
Step 1:
For new installation, you are going to have to route power from your circuit panel.
You are going to be setting up a new circuit, and you're going to be routing power to your wall thermostat. You are going to want to turn your breaker off.
Step 2:
Locate the studs in the wall so you can use them to mount the baseboard.
Step 3:
Take a measurement of the baseboard, and transfer that measurement to the trim. Cut the trim out.
Step 4:
Cut out your baseboard molding (if applicable).
Step 5:
Pre-drill our holes to secure the baseboard to the wall.
Step 6:
Next, take a flat head screwdriver and remove the knockout that corresponds to where the wire goes.
Step 7:
Remove the Phillips screw to get into the wiring compartment. Make sure you set the nut on the wire, before you put it through the baseboard.
Step 8:
Pull the wire through the knockout in the back of the heater, and install the strain relief connector.
Tip: baseboards can be wired on both the left and right side
Step 9:
Once the heater is laid against the wall, and the supply wire is ran through the knockout, the knockout is secure.
Tip: Make sure the baseboard is level.
Step 10:
Once your baseboard is level, you can mount it to the wall.
Step 11:
Use the pre-drilled holes to secure the baseboard to the wall.
Step 12:
Go ahead and remove the ground screw and secure our cooper ground lead from the supply to that.
Tip: curl wire counterclockwise, so it doesn’t get loose when securing the grounding screw.
Step 13:
Baseboards on the wall. Next thing is install the thermostat. Check out our other YouTube videos on how to install a thermostat.

If you're looking for more help, don't hesitate to reach out to our tech support team. They're happy to answer your questions online, over the phone, and through e-mail.
Video Transcription
0:00 Hi, we're from tech support here at Cadet.
0:01 My name is Thomas and this is Steve.
0:03 We're here today to show you how to install a four foot baseboard heater.
0:09 So before you install the baseboard
0:11 You're going to want to read up on these things.
0:13 All this information can be found in the owners guide.
0:15 But also we have some great videos on our YouTube channel.
0:18 If you're going to be working with a live panel
0:21 You sure don't want to get yourself shocked or electrocuted.
0:23 If you feel uncomfortable, stop here and get an electrician to do this work for you.
0:28 So I'm going to go over some of the tools that we're going to need to install a baseboard to the wall.
0:32 A tape measure
0:33 A stud finder
0:35 Wire strippers
0:36 A drill
0:37 Phillips head screwdriver, flat head screwdriver
0:39 A meter
0:40 And something to cut the baseboard trim with.
0:43 We also need screws, wire nuts, and a strain relief connector.
0:46 For new installation, you are going to have to route power from your circuit panel.
0:51 You are going to be setting up a new circuit, and you're going to be routing power to your wall thermostat
0:56 (If you have a wall thermostat). Or directly to the heater wall can.
1:00 Steve: Ok, what are you doing Thomas?
1:03 Thomas: Well I'm locating the studs in the wall (Ok) so we can go ahead and mount the baseboard.
1:08 STOP!
1:09 Before you do anything else, you are going to want to turn your breaker off.
1:12 Thomas: Ok, so now what we're going to do is we're going to take a measurement of the baseboard,
1:16 Transfer that measurement to the trim, and then we're going to go ahead and cut the trim out.
1:22 So I have an inch and three quarters, to the edge of the baseboard to the center of the knockout
1:27 We're are going to use. So I'm going to measure over and inch and three quarters.
1:32 And make my mark.
1:34 We got the 48 inch baseboard here and the four footer, so what we're going to do is measure out 48 inches.
1:41 Steve: Perfect!
1:42 Thomas: Now we'll go ahead and cut our baseboard molding.
1:45 Steve: Thomas is using this power tool here to do the cutting today.
1:49 However, if you don't have that, you can use a drimel tool, or another option is
1:53 Remove the molding, cut the pieces, and reattach them back to the wall.
1:59 Next, we are going to pre-drill our holes to secure the baseboard to the wall.
2:03 You can also secure the baseboard against the wall, and use the star dimples.
2:08 Pre- drilling the holes allows you to see where your screws are going to go in from the front.
2:13 Thomas: Ok Steve, so next what we're going to do is we're going to take a flat head screwdriver
2:17 And remove the knockout that corresponds to where the wire goes.
2:21 Steve: Now, I’m going to remove the phillips screw to get into the wiring compartment.
2:25 Thomas: Make sure you put the set nut on the wire, before you put it through the baseboard.
2:29 So we're going to pull the wire through the knockout in the back of the heater, and install we’re going to install the strain relief connector.
2:35 Steve: Well, we've got heater laid against the wall, and we've got our supply wire ran in
2:40 Through the knockout, the knockout is secure.
2:44 Thomas: Yeah Steve, and another thing we're going to want to do is make sure the baseboard is level.
2:48 So we're going to put that here, how does that look?
2:49 Steve: Hey, it looks perfect! Wow, right in the bubble there.
2:51 Thomas: Perfect, we're ready to mount that thing to the wall.
2:53 Steve: Hey, you remember those holes that we had pre-drilled before?
2:57 Those are the holes that you are going to use to secure the baseboard to the wall.
3:00 Now, we're going to go ahead and remove the ground screw and secure our cooper ground lead from the supply to that.
3:07 Thomas: Baseboards on the wall. Next thing we're going to do is install the thermostat
3:11 But that's another video.
3:13 Steve: Thanks for joining us, have a nice day.


